How to Clean Dogs' Ears - The Expert's Guide
When it comes to looking after our canine friends, everything from their teeth to their tails needs attention, whether it's cleaning, brushing or trimming. However, cleaning their ears requires a little more care and attention than most other jobs. After all, according to Cesar Milan, a dog's ears are so sensitive that their traditional dislike of rain can be attributed to the unsettling amplified sound of the drops, so, it's easy to see how they can be easily damaged by over-zealous poking and prodding. But by learning how to clean dogs' ears properly, you can transform what can be an uncomfortable procedure into an opportunity to create a bonding experience with your dog, as well as saving on vet's fees. So, to keep your dog's ears in tip-top condition, ready to signal everything from submission to a smile, as well as to listen out for the all-important rustle of the treat jar, then just follow these easy tips to learn how to clean dogs' ears thoroughly, gently and effectively.
How Often to Clean?
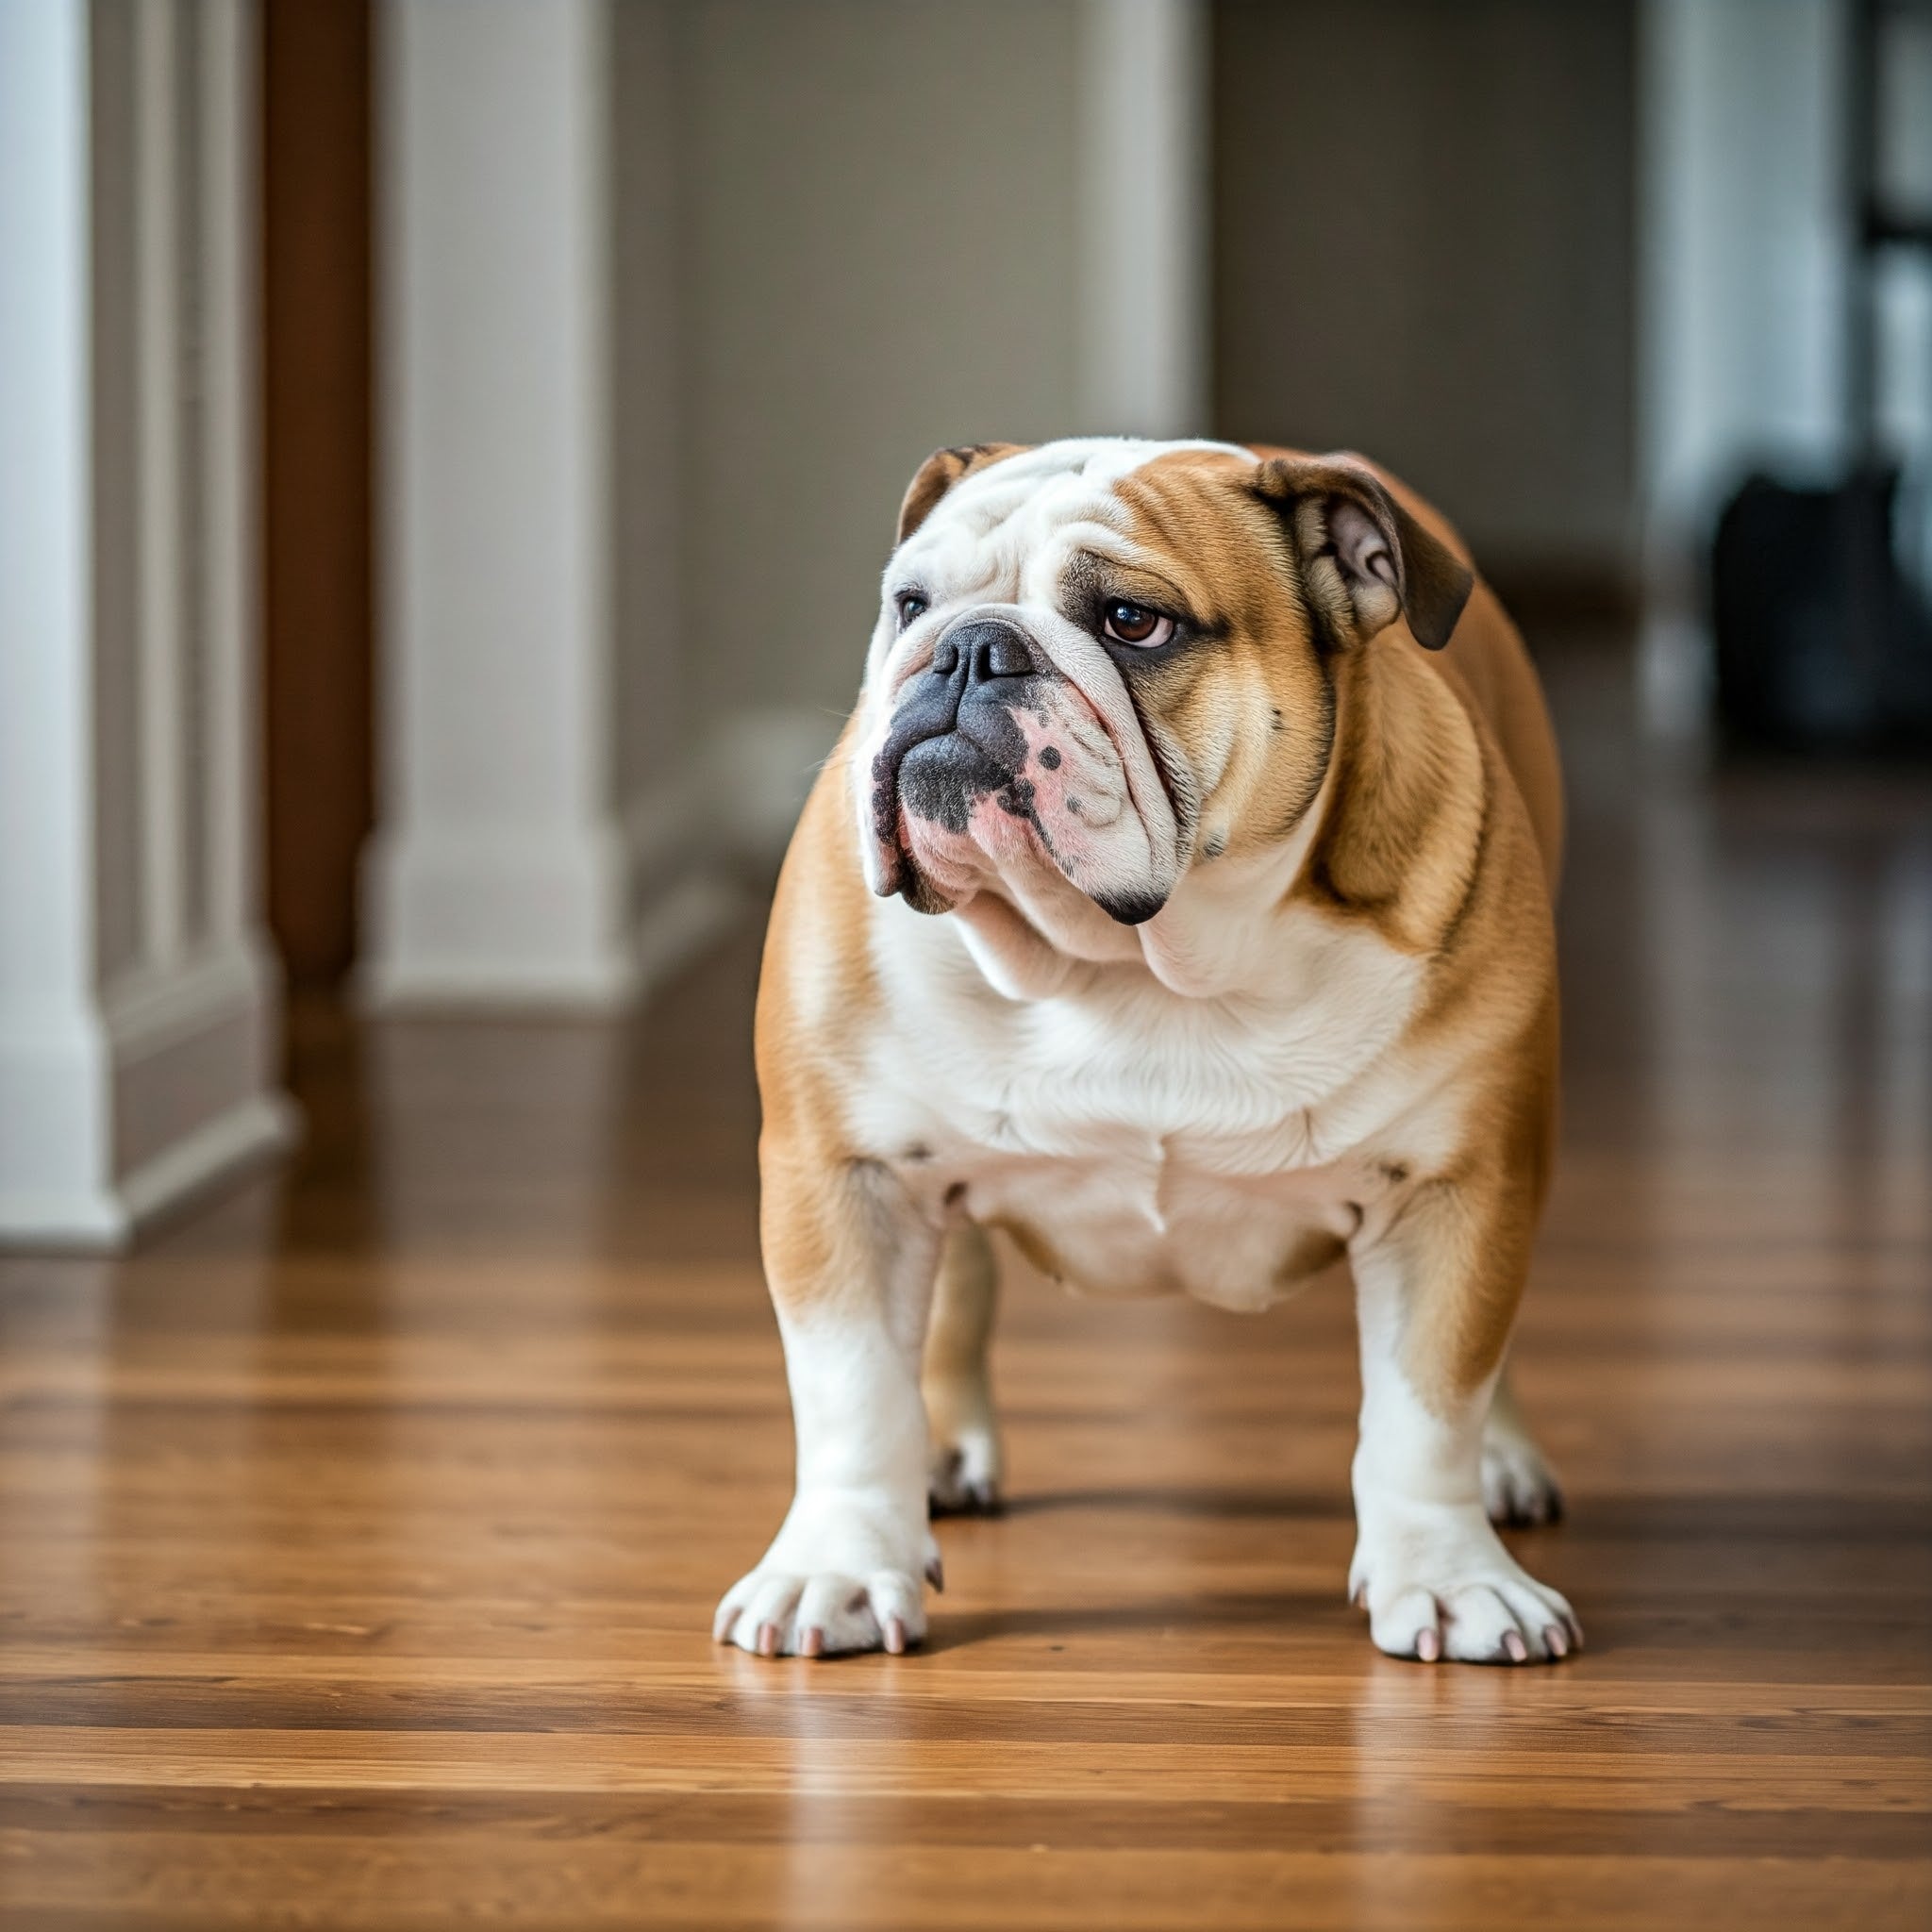
To work out how often your dog's ears need cleaning, just take a look at the length - dogs with little ears, such as terriers and bulldogs can get away with a bi-monthly ear clean, whereas breeds famous for their long and droopy ears, such as Cocker Spaniels and Basset Hounds will need theirs cleaned once a week. That being said, sometimes it is what your dog likes to do that makes them in need of regular cleanings. Any dog who likes to take the plunge on a daily walk, whether in the sea, a river or just a muddy stream will definitely need a more regular wash.
The truth is, there is no harm in keeping clean, so performing a weekly cleaning cleaning on any dog is preferred to fight off more serious ear issues.
The Best Products to Use
There's a huge range of products on the market, with technical washes and wipes traditionally leading the field. Products like Zymox and Virbac fall into this category, and use chemicals or alcohol solutions to clean the ears. While these may be effective, there are always downsides to using chemical or alcohol based cleansers, with potential damage to your dog's health being at the top of the list.
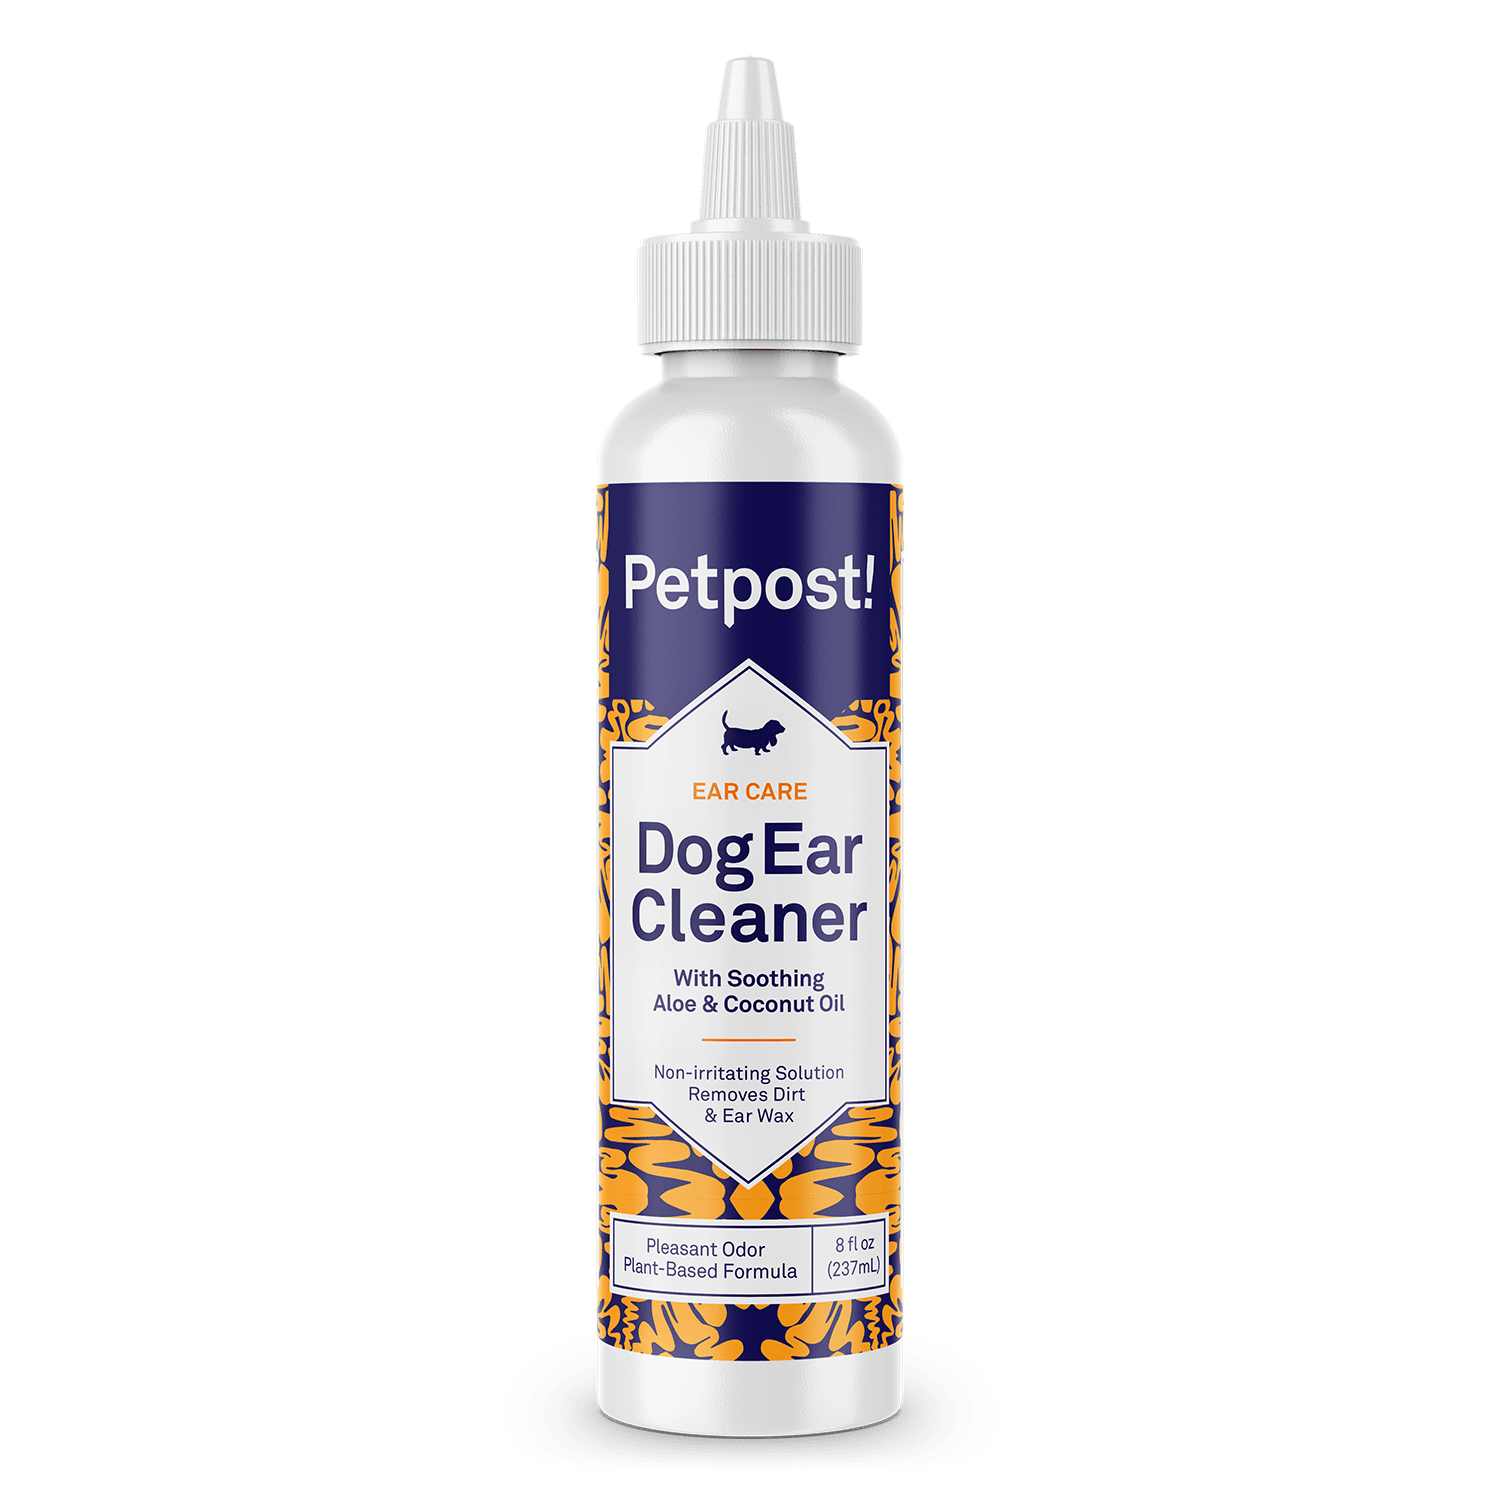
A choice for a more natural approach - such as a cleanser based on fruit oils - is quickly gaining in popularity; their gentle ingredients don't run the risk of irritating your dogs' ears and with natural essences such as coconut, it's a sensory experience that soothes as it cleans.
Coconut oil is being hailed as a miraculous health asset to both humans and dogs. Any coconut oil based solution is a clear choice for a natural way to clean dog's ears. (If you want to learn more you should read the awesome guide we wrote on coconut oil for dogs!)
The bottom line is that if you choose a high-quality cleanser that's effective at blasting away nasty dirt, wax and grime, you'll be helping your dog develop greater resilience as it goes splashing through those puddles.
How To Clean Dogs' Ears
Okay - let's be frank; your dog probably won't enjoy the process. After all, most dogs don't like the bath-tub at the best of times, but by following some simple guidelines, it's easy to make the process as painless as possible, beginning with getting your dog comfortable.
Step One: Settling Your Dog
Whether you smear peanut butter on your shower wall, or keep a Kong at their feet to distract them, keeping your dog motivated, rewarded and comfortable with a treat is key to taking their mind off their ears and onto their tummies instead. When they are calm and settled, give them a reward which will help them to build a positive association with the process.
It may help to enlist an extra pair of paws, too, particularly if your dog is strong or particularly skillful when it comes to evading cleaning time. Getting a trusted friend, family member or dog-sitter on board to help keep your pup still will work wonders if they wriggle around.
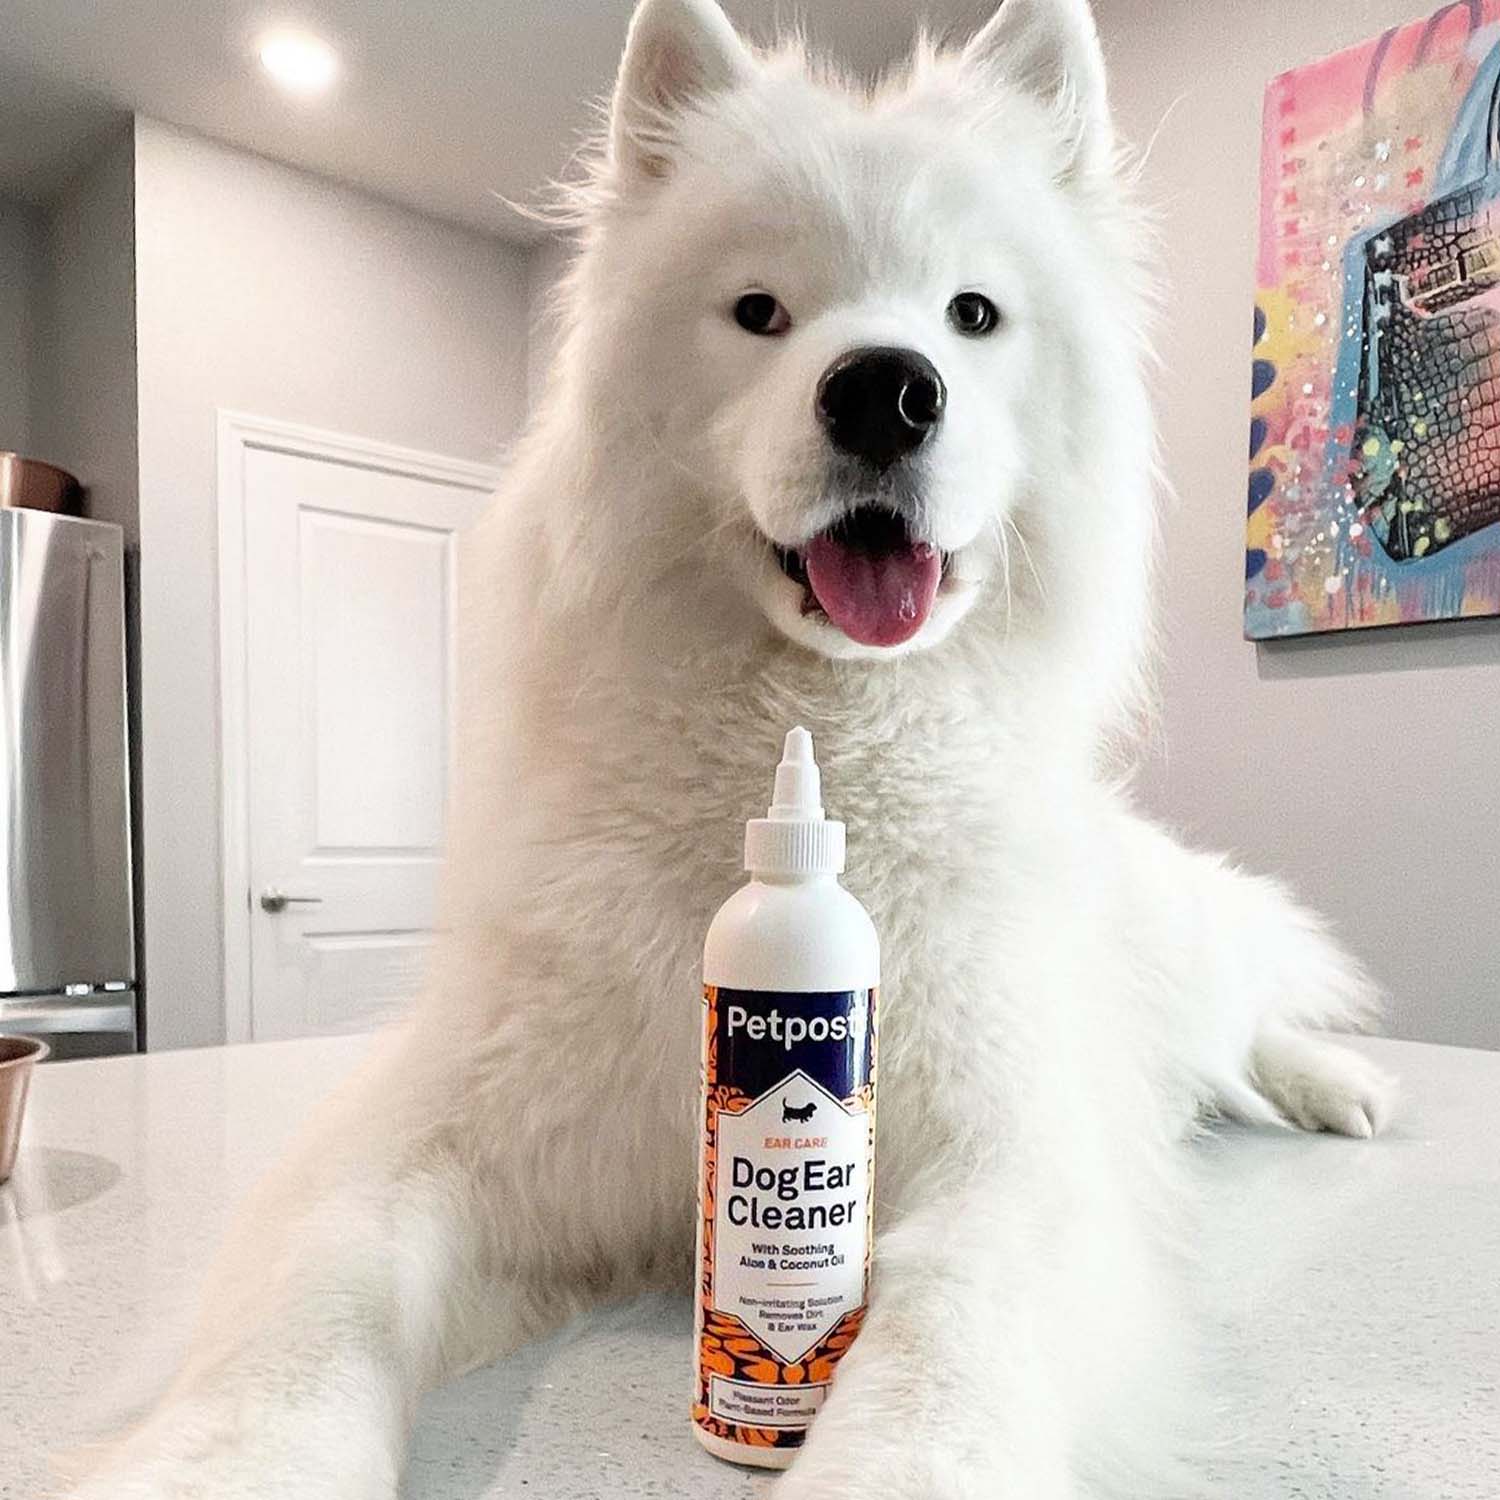
We always suggest slow, gradual steps if your dog gets very anxious around certain elements of the cleaning process. Just showing your dog the bottle of ear cleaner and giving a treat for staying calm in the days before a full cleaning will help get Mr. Scruffles comfortable around the process.
Step Two: Inspection First
According to US giant Veterinary Pet Insurance,  ear infections are the number one reason for a trip to the vet, so take your pet's lead and look out for the signs. Not only are ear infections painful for your dog, they will also end up being expensive for you. At an average cost of $200 per ear infection related visit to the veterinarian, preventative actions are greatly preferred to reactive ones.
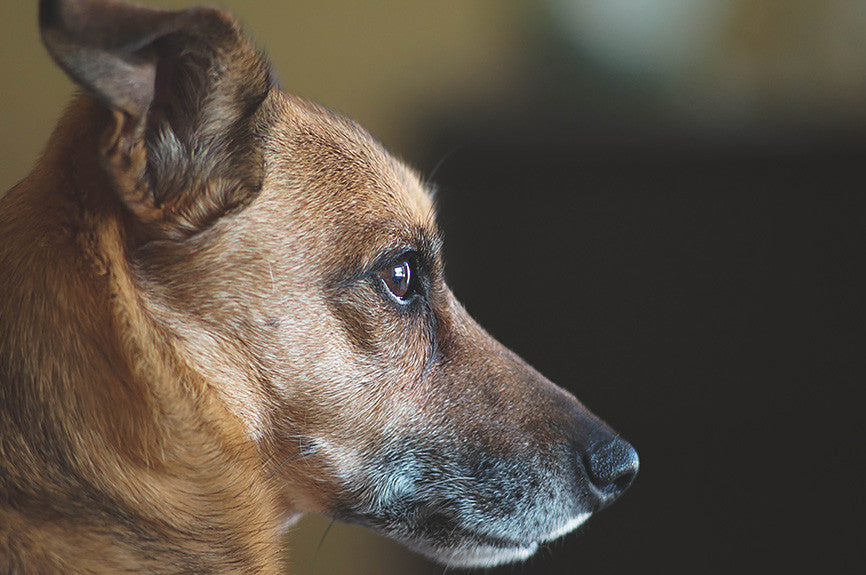
Dogs will always display discomfort when something is wrong, so if they've been rubbing their ears on the floor, scratching them more than normal or shy away from them being touched, then this could be an indication of infection.
Begin with an inspection of the ear, both inside and out, to check for any discharge, cuts or foreign bodies. Also give the inside of the ear a little sniff to see if there are any particularly funky odors which can be indicative of a problem.
All of these signs are indicative of an ear infection. If you notice these quickly, then you will be able to catch on at an early stage and be in much better shape when it comes to fighting off the infection. If your dog is experiencing any symptoms of an infection, you will know that their ears will be very sensitive and require a gentle touch when cleaning.
To sum up what to look for, if you notice that your dog has some of the following symptoms, make sure to be extra gentle and especially thorough when cleaning your dog's ears:
- shaking it's head
- scratching it's ears or head on the carpet
- redness outside or inside the ear canal
- excessive dark colored wax or discharge
- a foul odor coming from the ears
Step Three: Ready, Steady, Clean!
Knowing how to clean dogs' ears is a specialty that most groomers and veterinarians have mastered. If you are able to become an ear cleaning expert, you will prevent health problems and give a happier life to your pup, and on top of that we will be able to consider this guide a success.
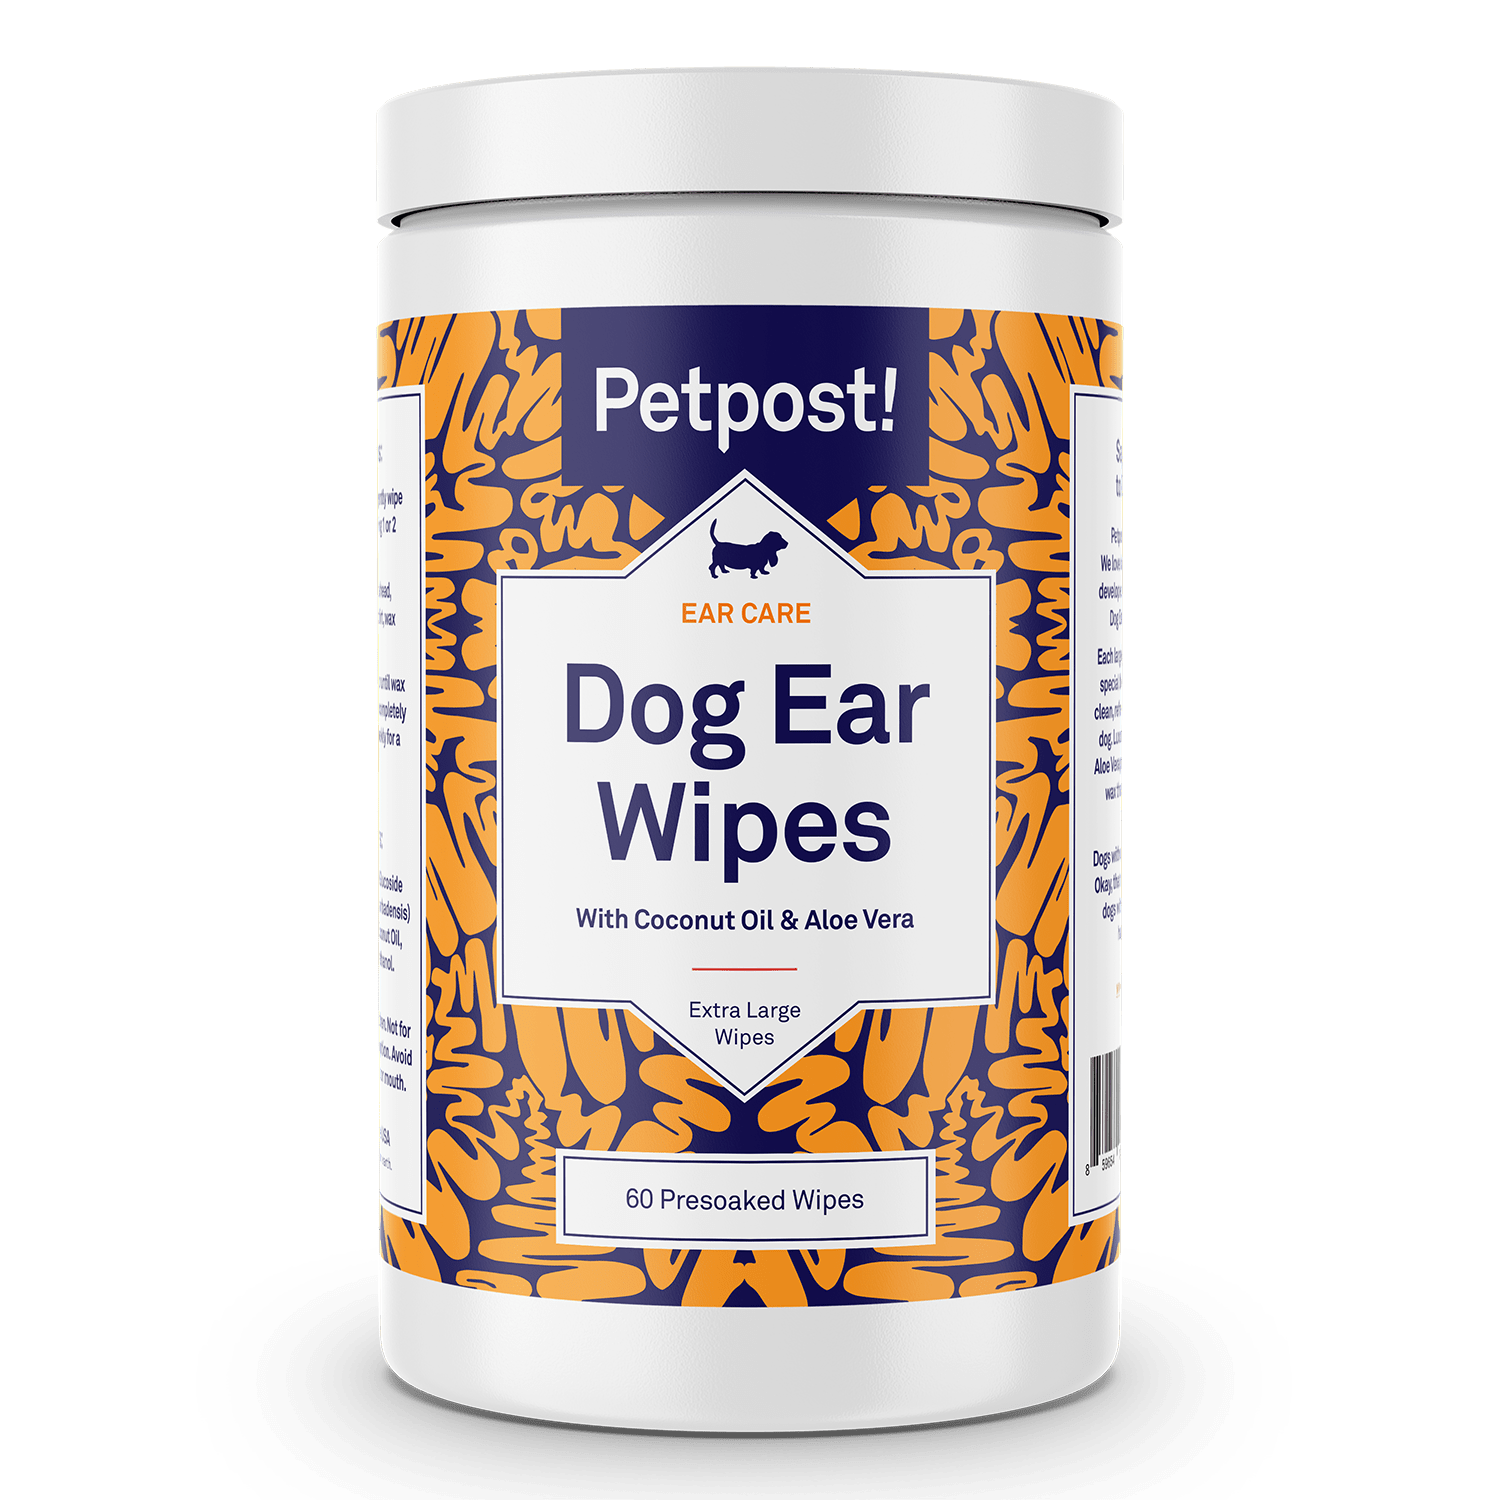
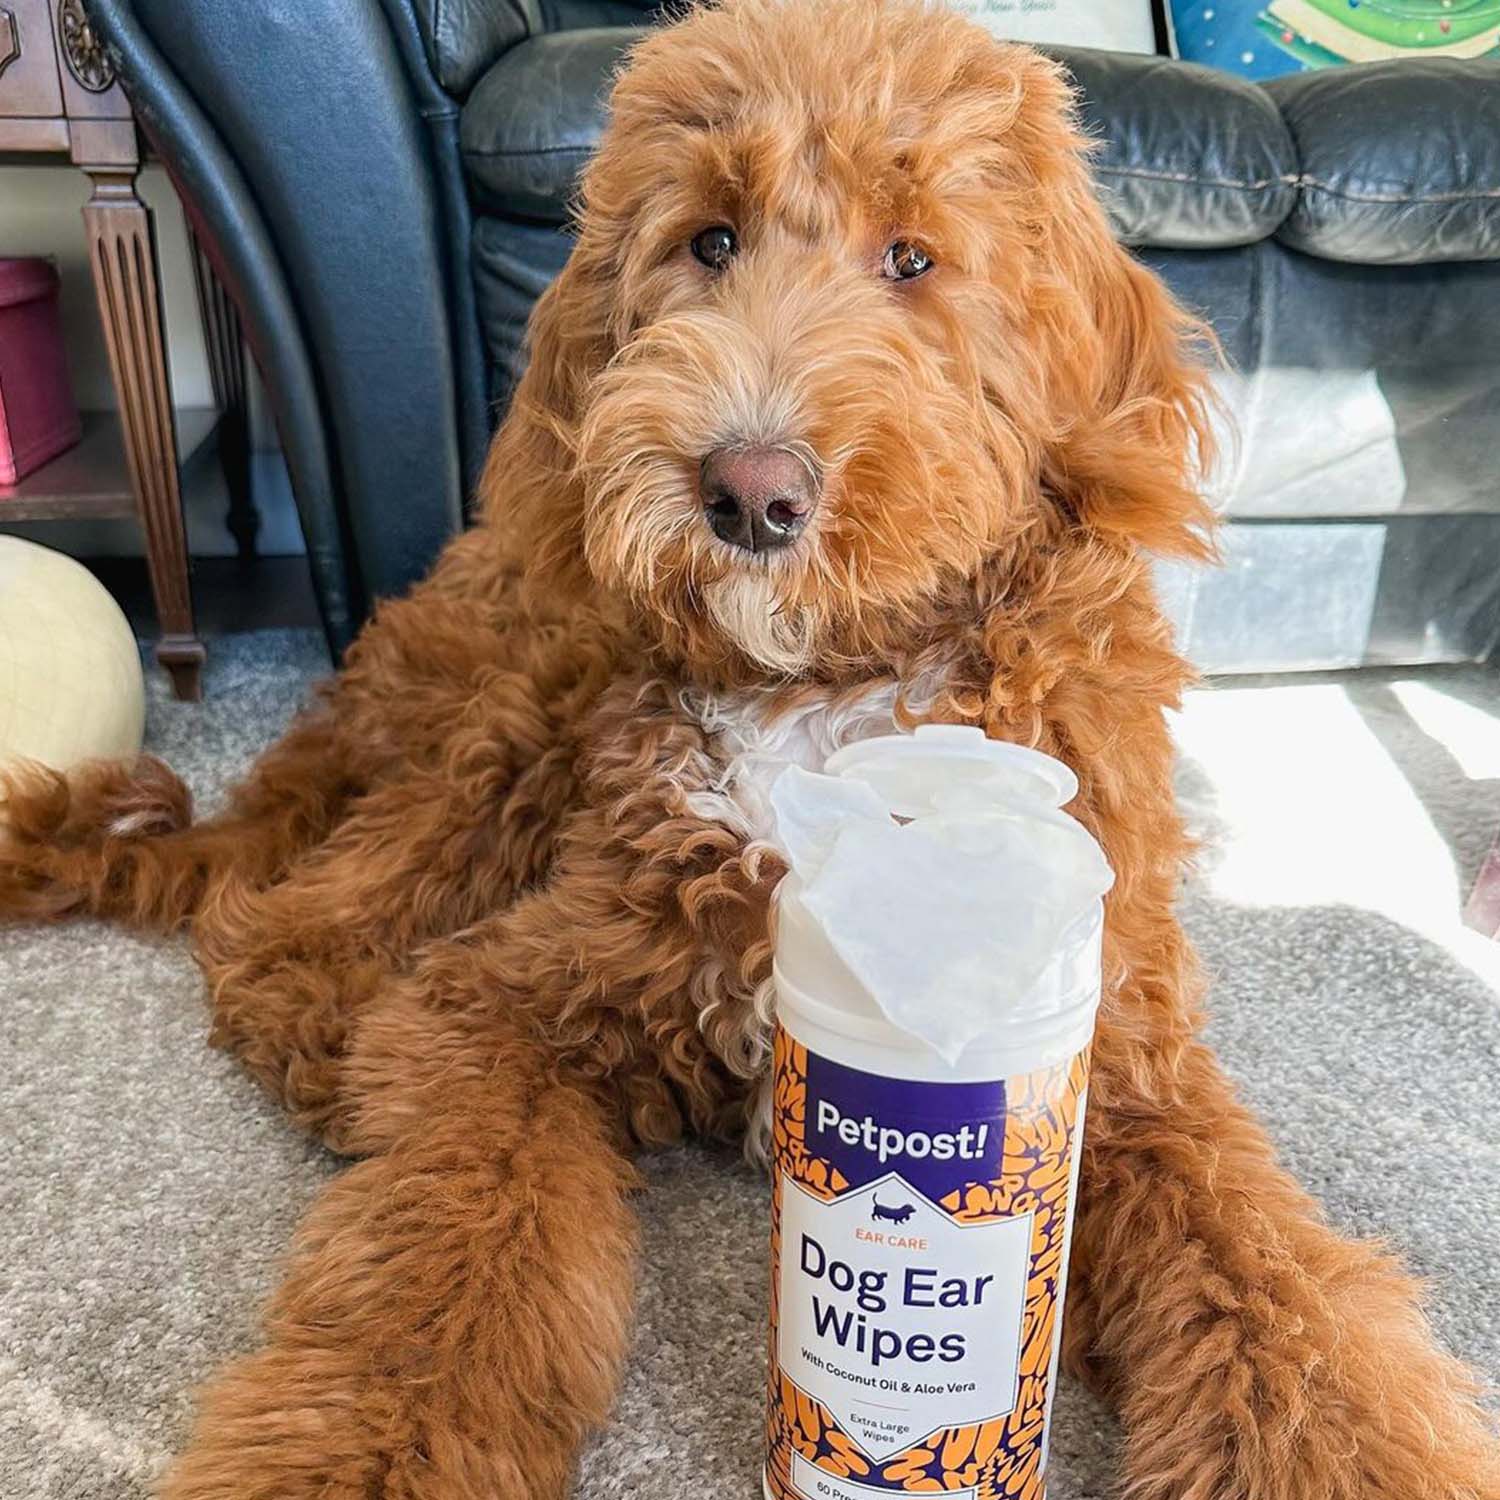
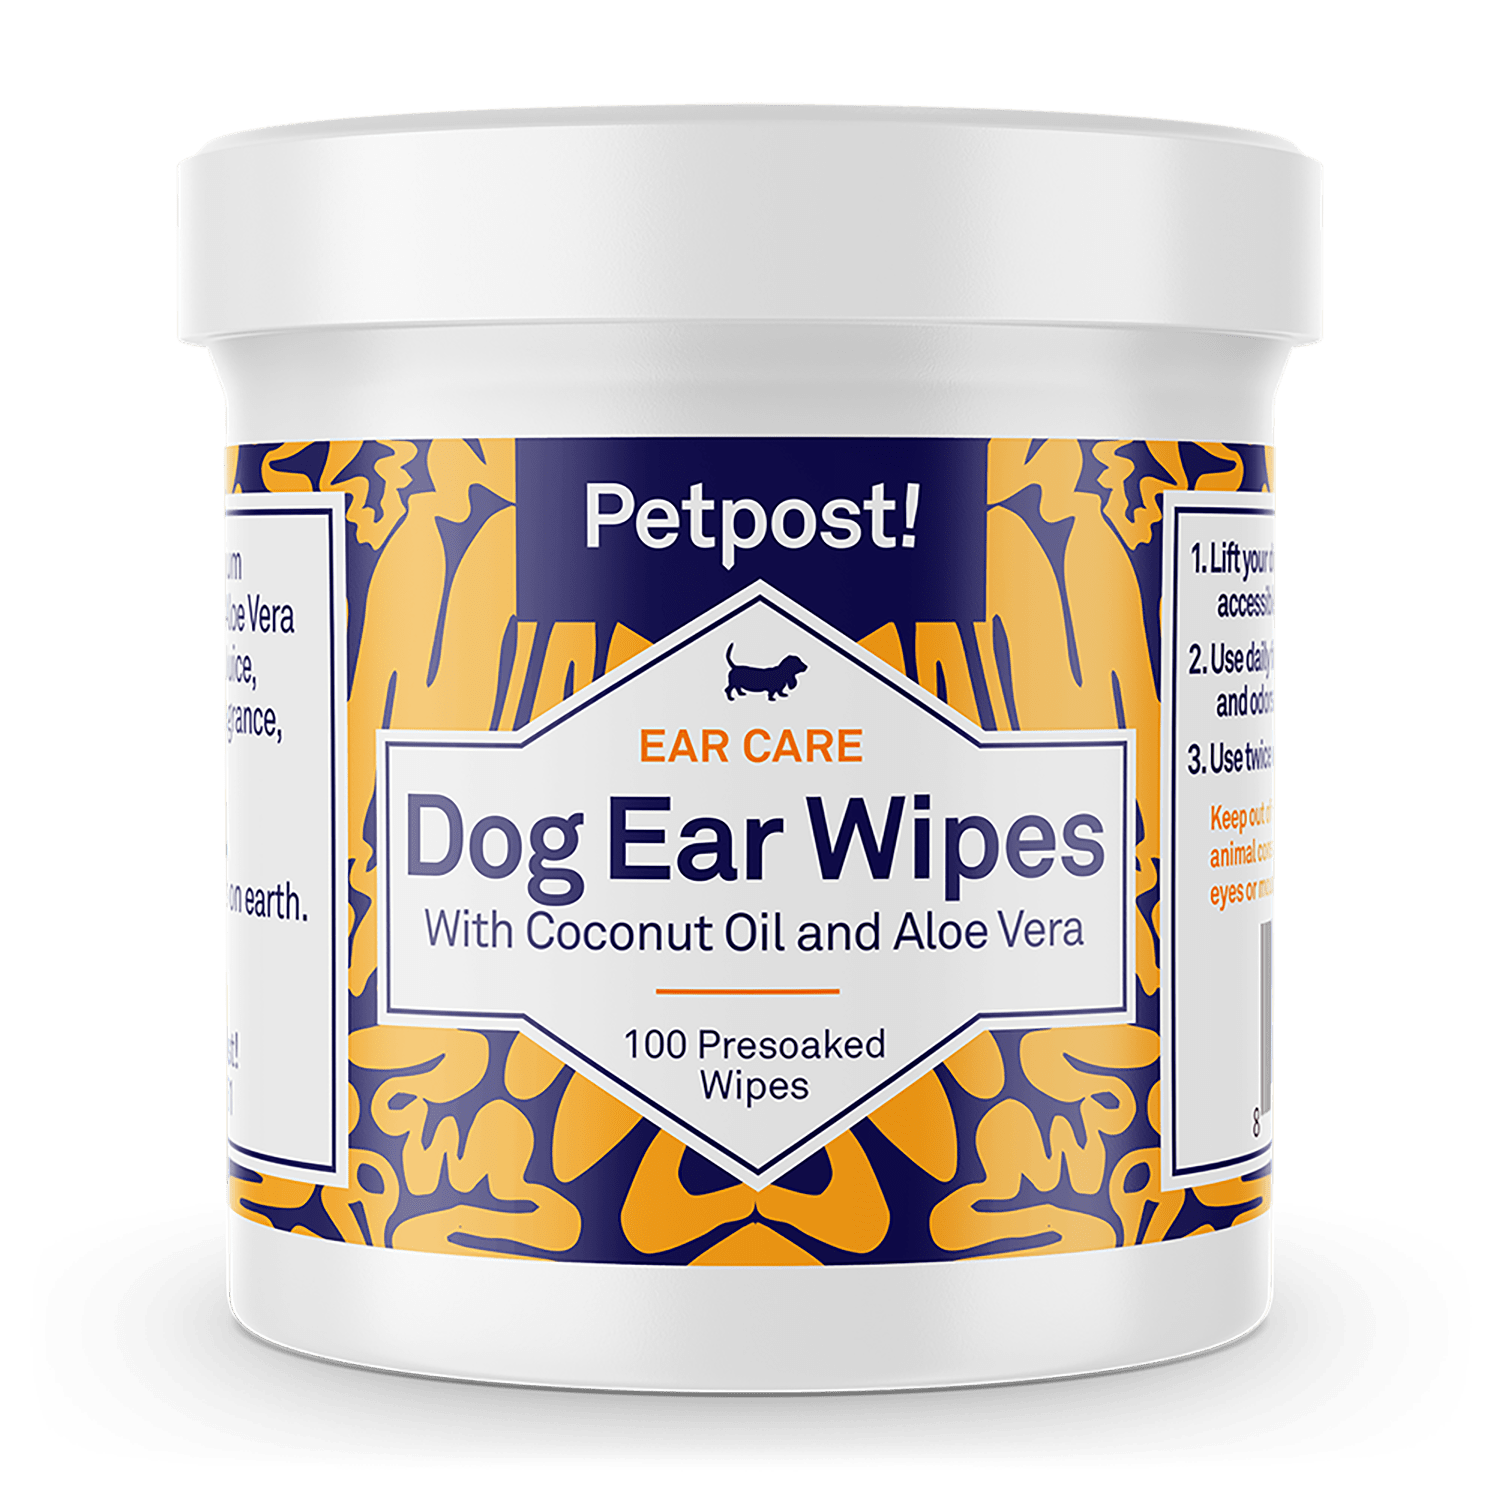
- Lift Pupernickel’s ear and squeeze your high quality dog ear cleaner into the ear canal until it is almost full. Be careful, tissues inside the ear easily damage, so don’t insert the nozzle or cap all the way. Just use gravity and your best aim. If your dog is very freaked out by having the liquid poured directly into their ear, try squirting it onto a cotton pad or ball, or using pre-soaked dog ear cleaning wipes instead.
- Massage the ear around its base. Be gentle, but thorough: you want to spread the liquid through the inner-ear’s most complicated squiggles for maximum effect. This massaging should take place for around 60 to 90 seconds. If it seems like that is a long time, it is, but it is necessary to allow the cleaner to do it's job and loosen up all of the crusty wax that has built up.
-
Stand back and let that little furball shake. Not only will your pooch feel better, but he will also dislodge any deeply buried wax. Oh, did we mention that you may want to clean your dogs ears somewhere you don't mind getting messy?
- Use a fresh, dry cotton pad or three to mop up all of the moisture and residue around the ear, starting opposite the ear’s opening. Gradually increase both
pressure and proximity to the ear canal until you either reach its edge or your dog tells you to stop.
- Now it's time to do the other ear.
When you finish the cleaning, make sure to give your dogs lots of hugs treats and kisses. Most dogs find the process of having their ears cleaned extremely unpleasant, and if they patiently bear it, they deserve recognition.
Now You're an Expert.
So that's it. You now officially knowledgable in how to clean dogs' ears. We will mail you your certificate soon.
Don't forget that grooming your dog and cleaning their ears is not something that should be done on an annual basis, it should be part of a weekly regimen to keep your pup healthy and happy. Isn't that the quality of life your best friend deserves?

Comments